Wearing and throwing a garter at your wedding is a time honored tradition. So today we are sharing a simple technique for making your very own, custom wedding garter! The best part is that this project can be completed in under an hour!
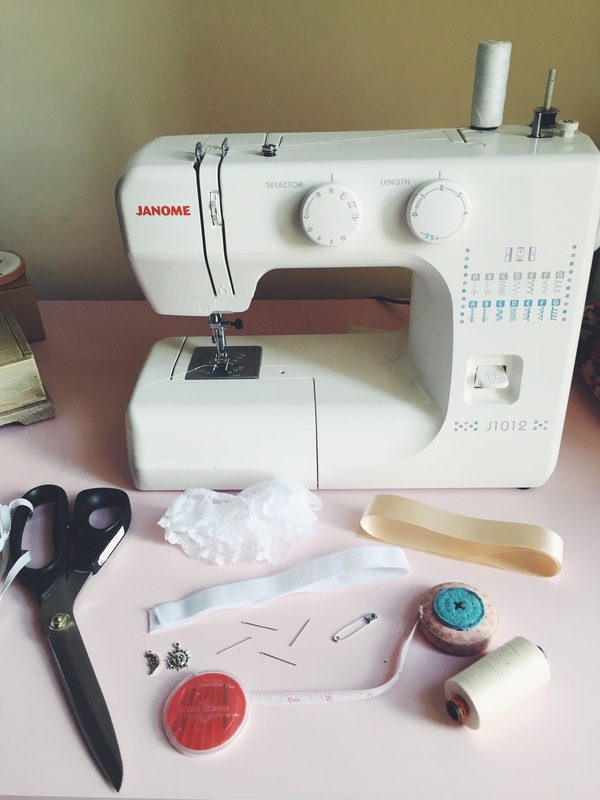
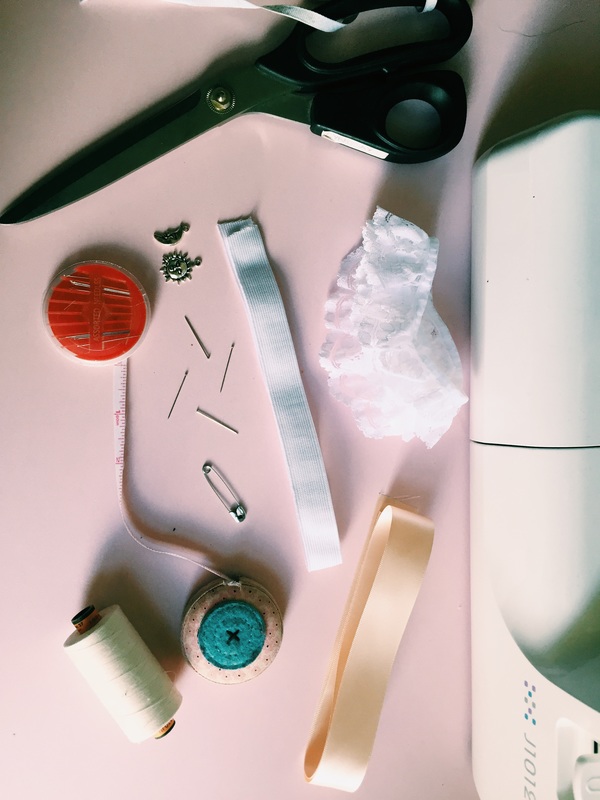
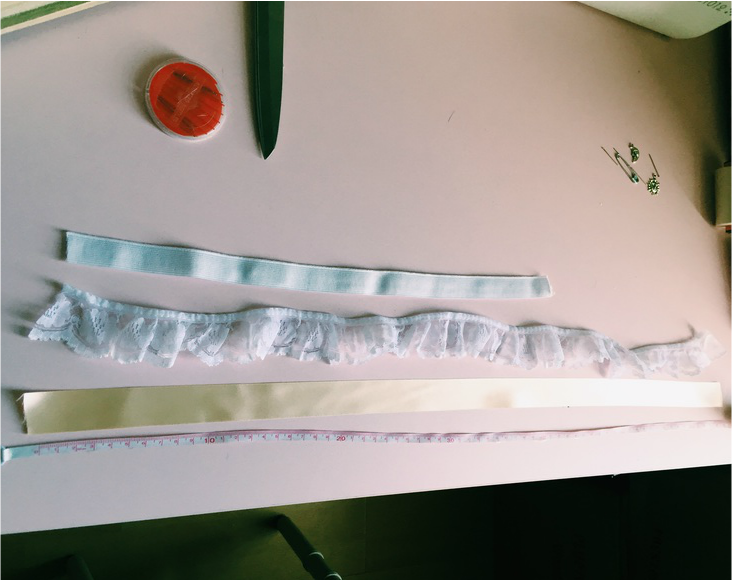
SUPPLIES:
- sewing machine
- your choice of lace (lengths t.b.d.)
- your choice of ribbon
- thread that matches the ribbon
- 1/2″ elastic
- large safety pin
- scissors
- measuring tape
- charm or button accent (optional)
///// Finding your custom garter length /////
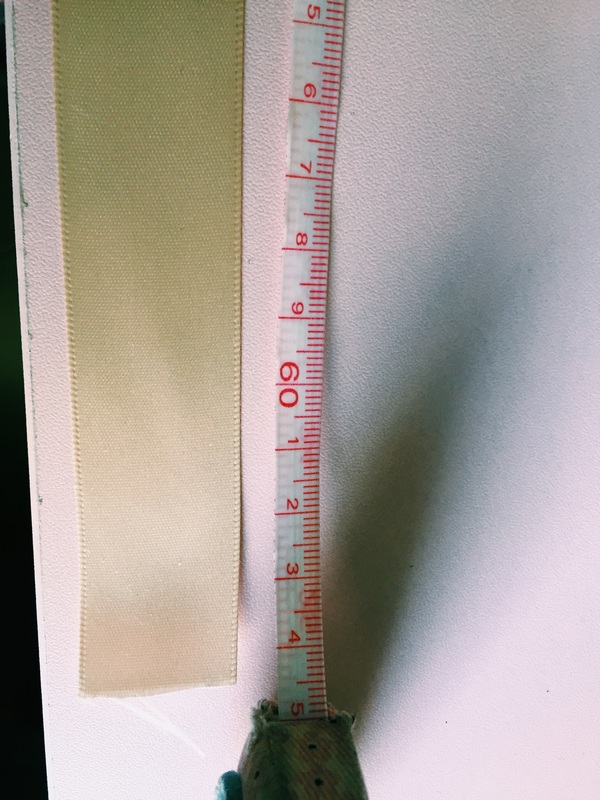
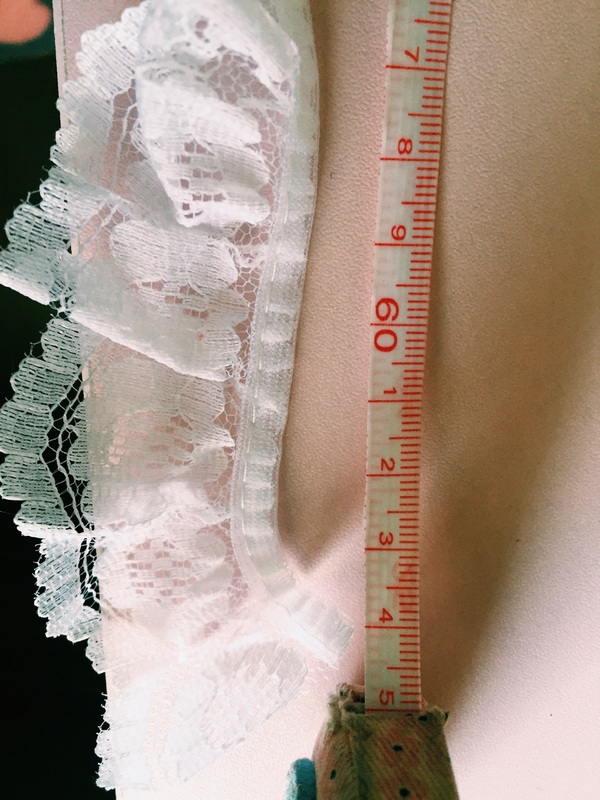
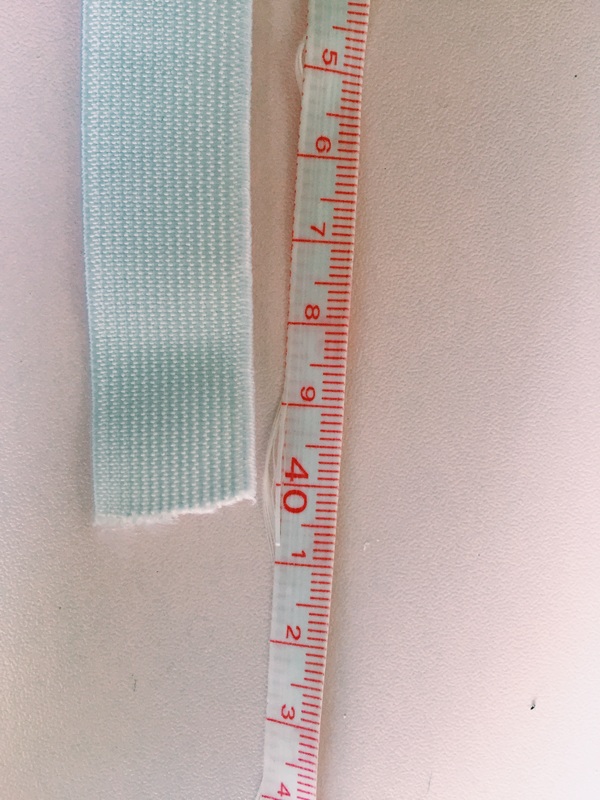
Everyone is different, so follow these easy steps to find the length that your ribbon and lace should be. Start by measuring the circumference of your leg (distance around the area of your leg that you want to wear the garter), in our case it was 18 3/4 INCHES. To have the perfect amount of gathering for your garter, add your number plus + 7 INCHES. So for us that was 25 3/4 INCHES; cut your ribbon and lace to your specific number. Then for the elastic, take your first number and minus – 3 INCHES; for us that equaled 15 3/4 INCHES. This will ensure that your garter won’t fall off your leg!
Everyone is different, so follow these easy steps to find the length that your ribbon and lace should be. Start by measuring the circumference of your leg (distance around the area of your leg that you want to wear the garter), in our case it was 18 3/4 INCHES. To have the perfect amount of gathering for your garter, add your number plus + 7 INCHES. So for us that was 25 3/4 INCHES; cut your ribbon and lace to your specific number. Then for the elastic, take your first number and minus – 3 INCHES; for us that equaled 15 3/4 INCHES. This will ensure that your garter won’t fall off your leg!
 |  |  |
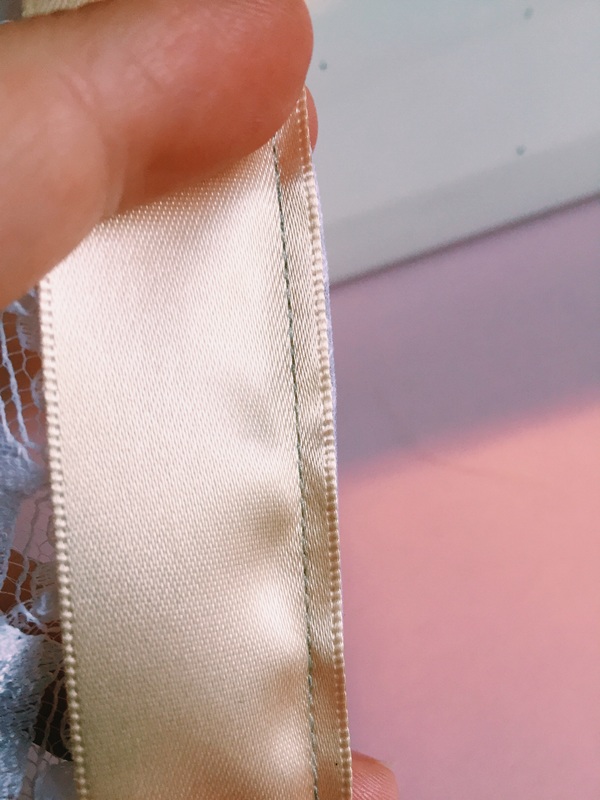
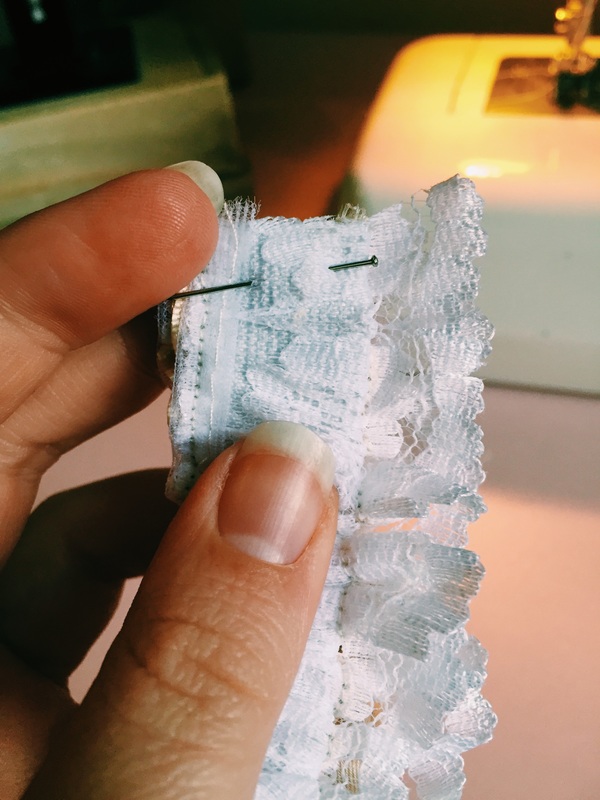
Making this garter is very easy and there are only a few steps. First, is sewing the ribbon on top of your lace. Keep the stitching as straight as you can.
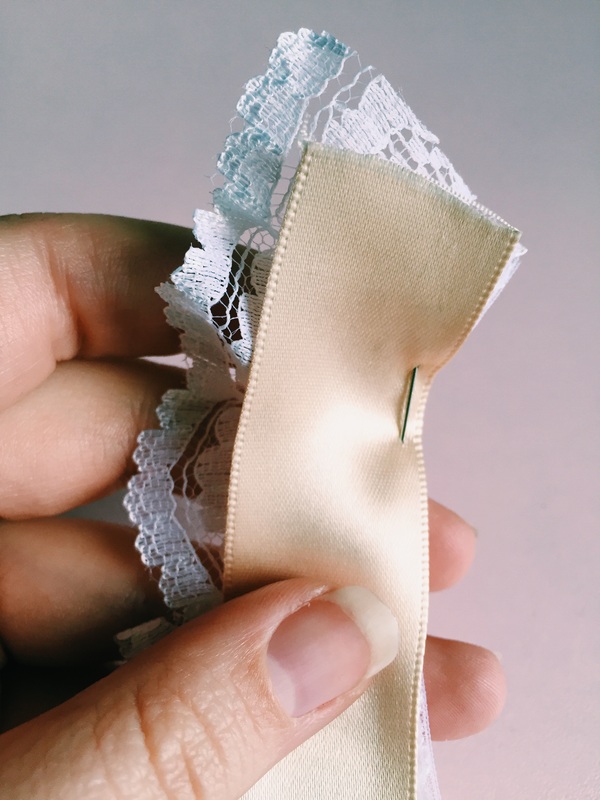 |  |
When your first seam is done, this is what it should look like.
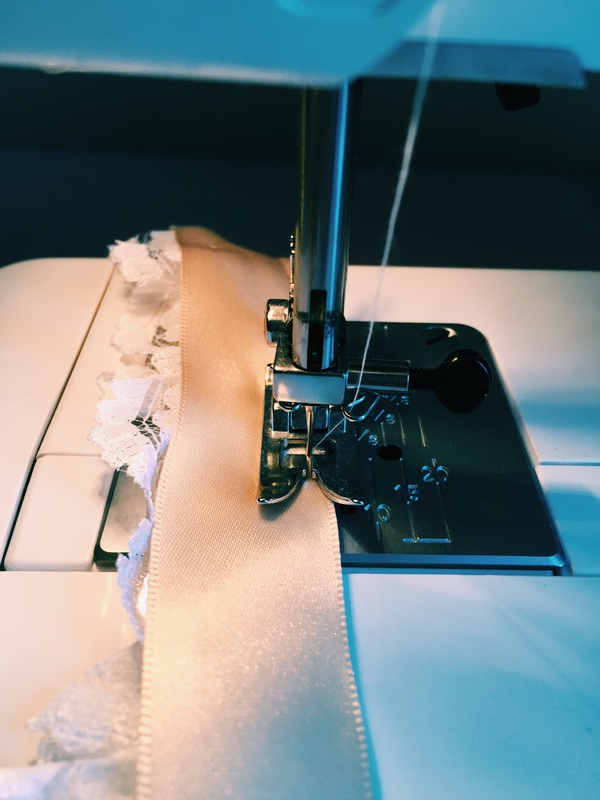
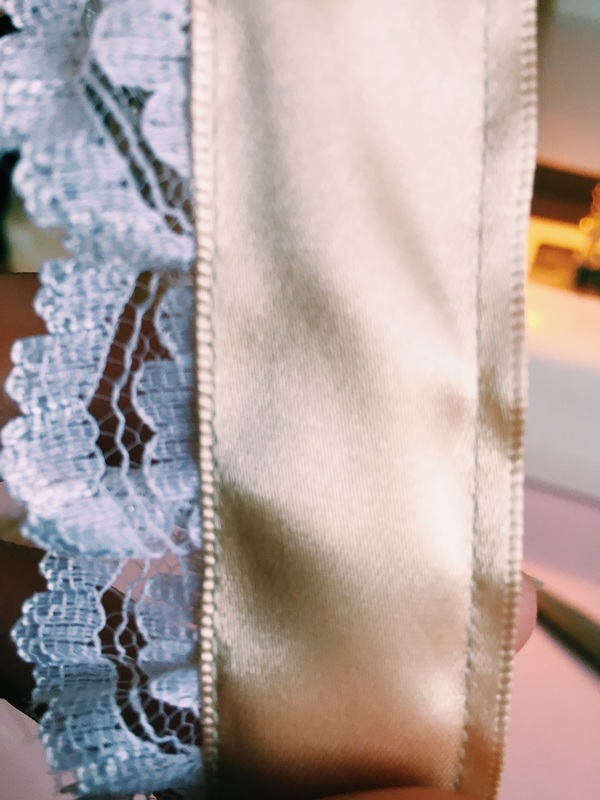
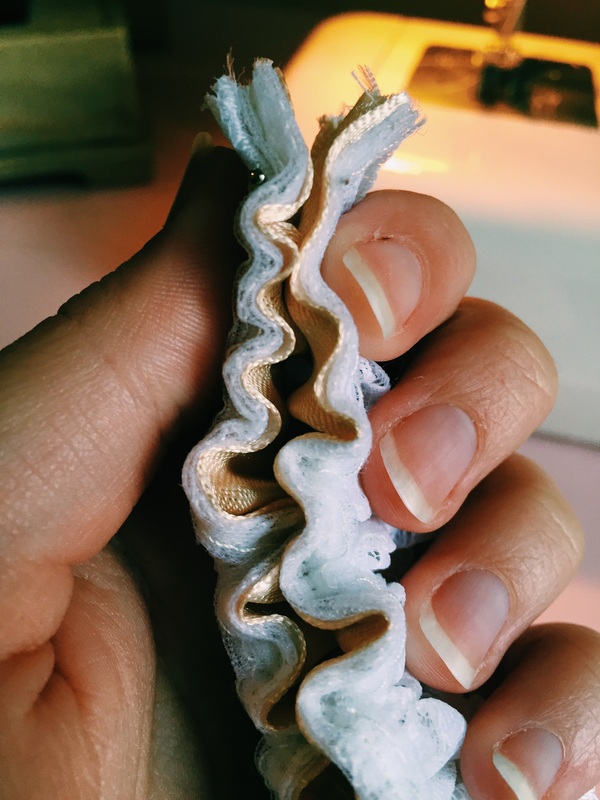
Now for the second seam. Sew the opposite edge of the ribbon to the lace.
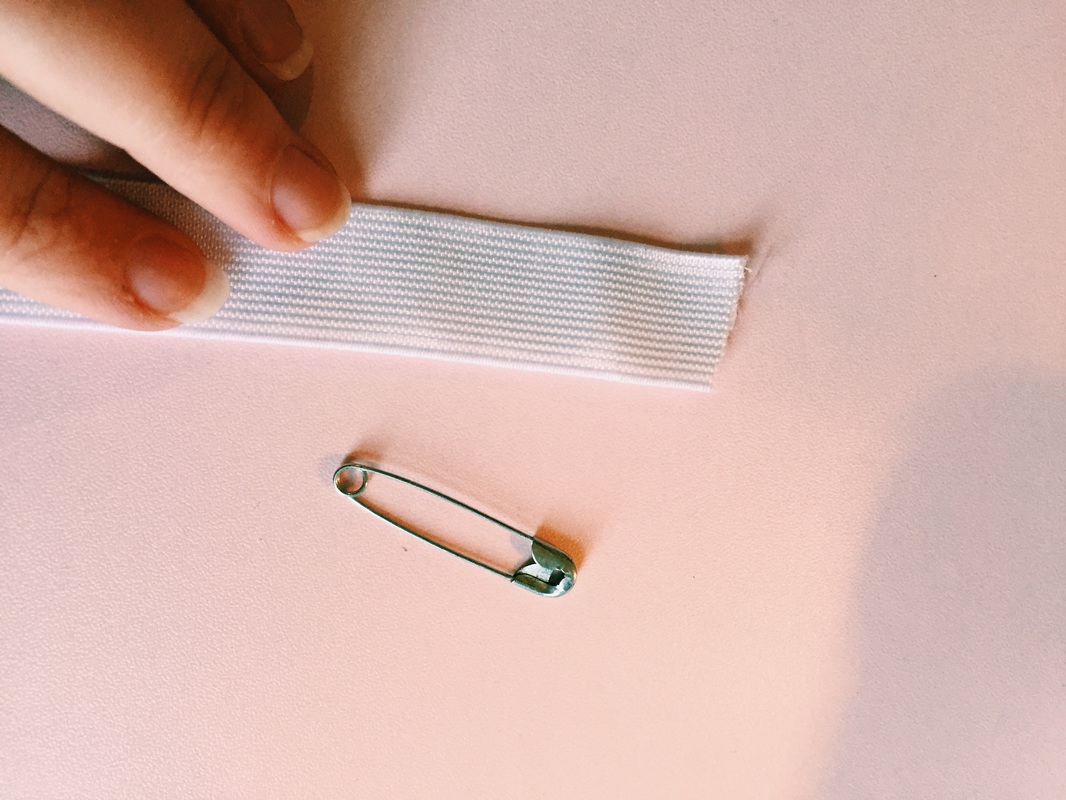
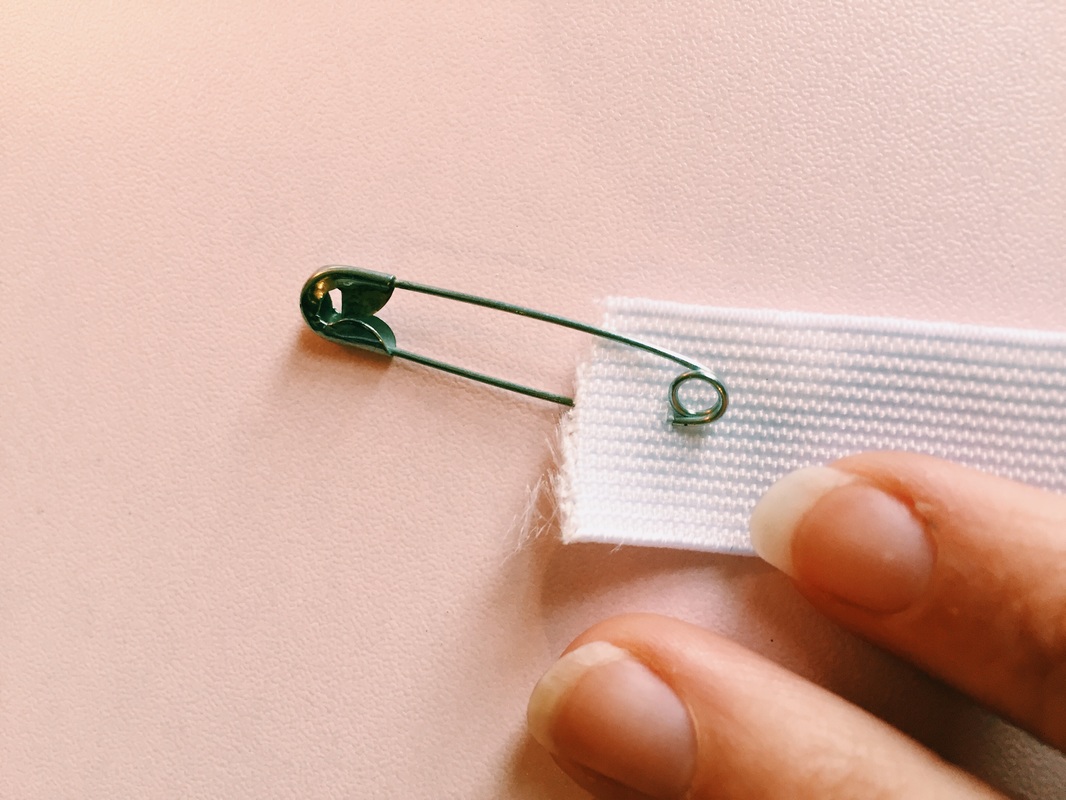
At this point you are halfway done! Now take your cut piece of elastic and put a large safety pin on the end. Next, thread the safety pin between the ribbon and lace. Keep moving the safety pin with elastic until it’s all the way through. The elastic is shorter than the ribbon + lace so you will have to gather it up as you go. Be careful not loose the other end of your elastic!
 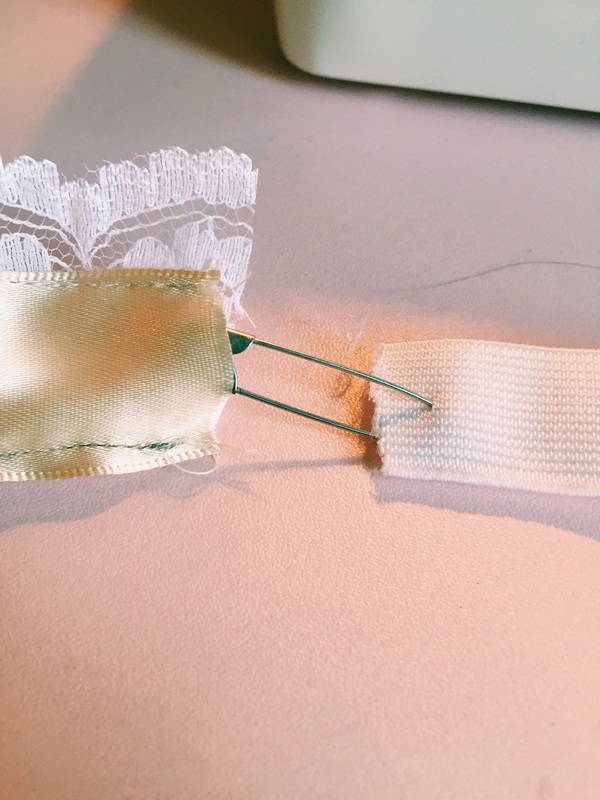 |   |
Once you have the elastic all the way through, pin both ends so you don’t loose them.
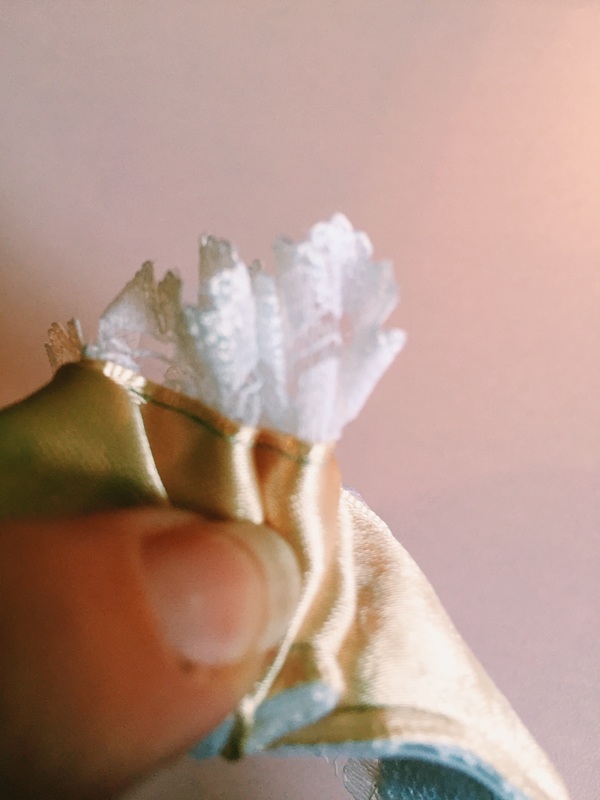
Then with the right sides of the ribbon facing each other, sew down the side of the lace. This is the last seam of your garter. Trim the strings and the edge clean.
**Optional: do a zig zag stitch along the cut ends to finish it.
**Optional: do a zig zag stitch along the cut ends to finish it.
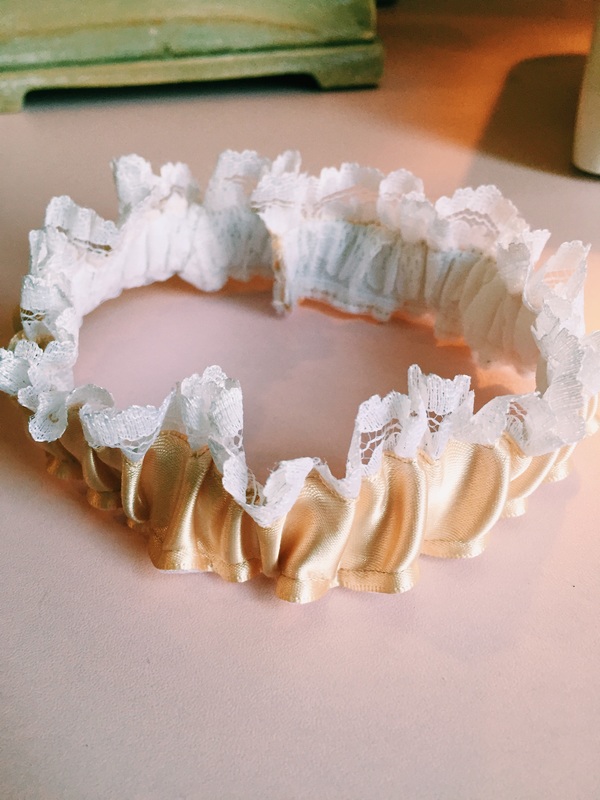
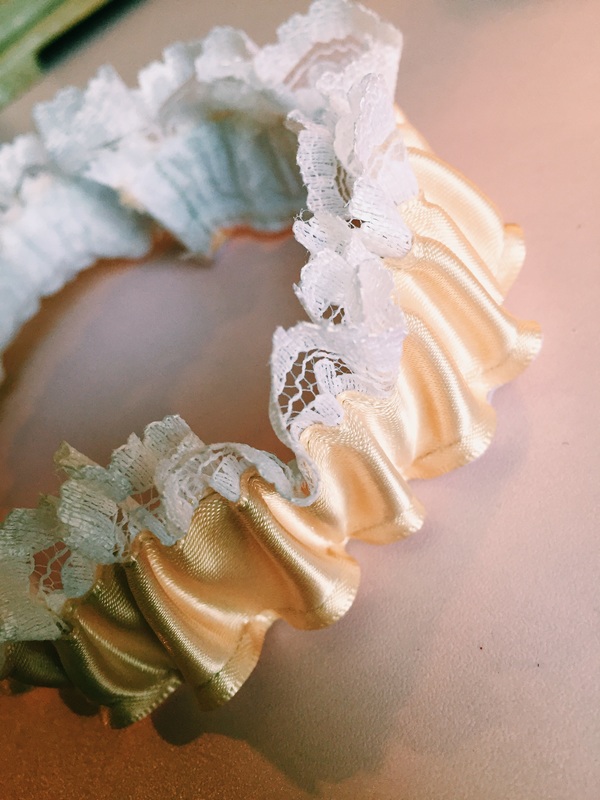
Turn your garter right side out, and you are done! In a snap you have a beautiful, custom garter for your wedding day! You can also make an extra version to throw…
 |  |
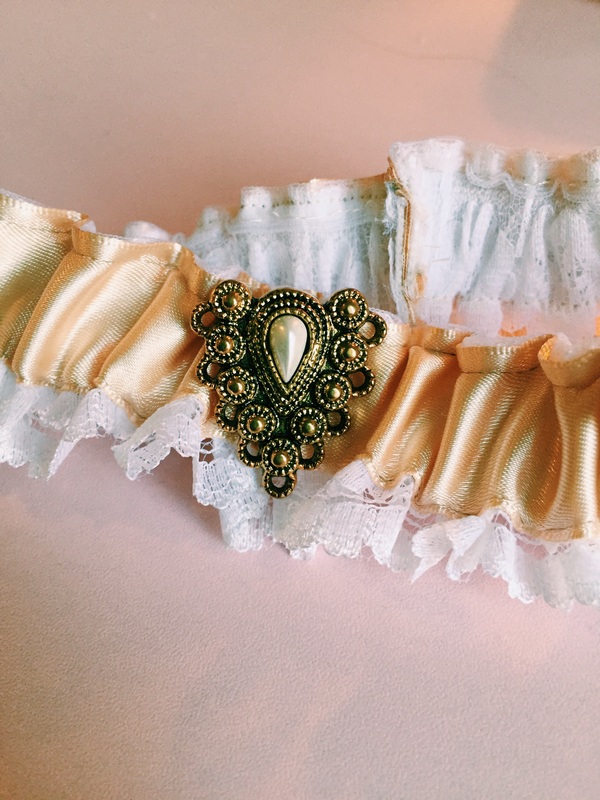
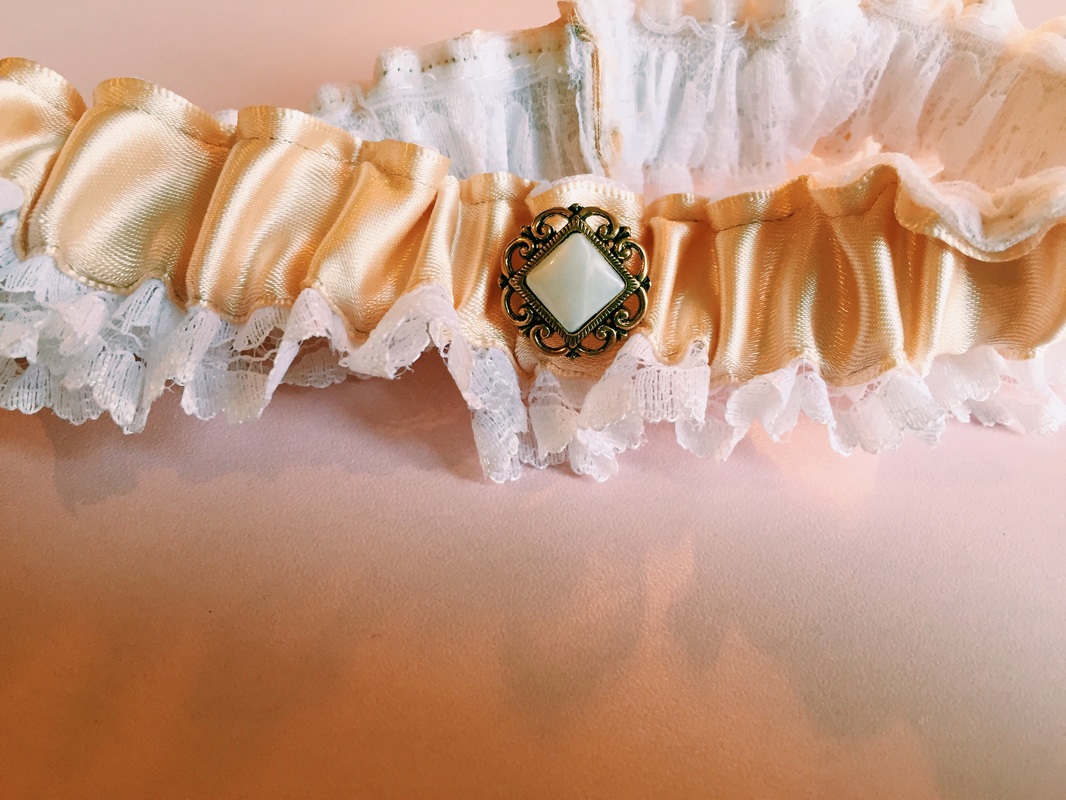
If you are looking to embellish your new garter with a little something special, why not add the initial of your groom-to-be! Here I have an array of charms , just hand sew the selected charm onto the lace or ribbon at the desired height. Simple and cute.
 | 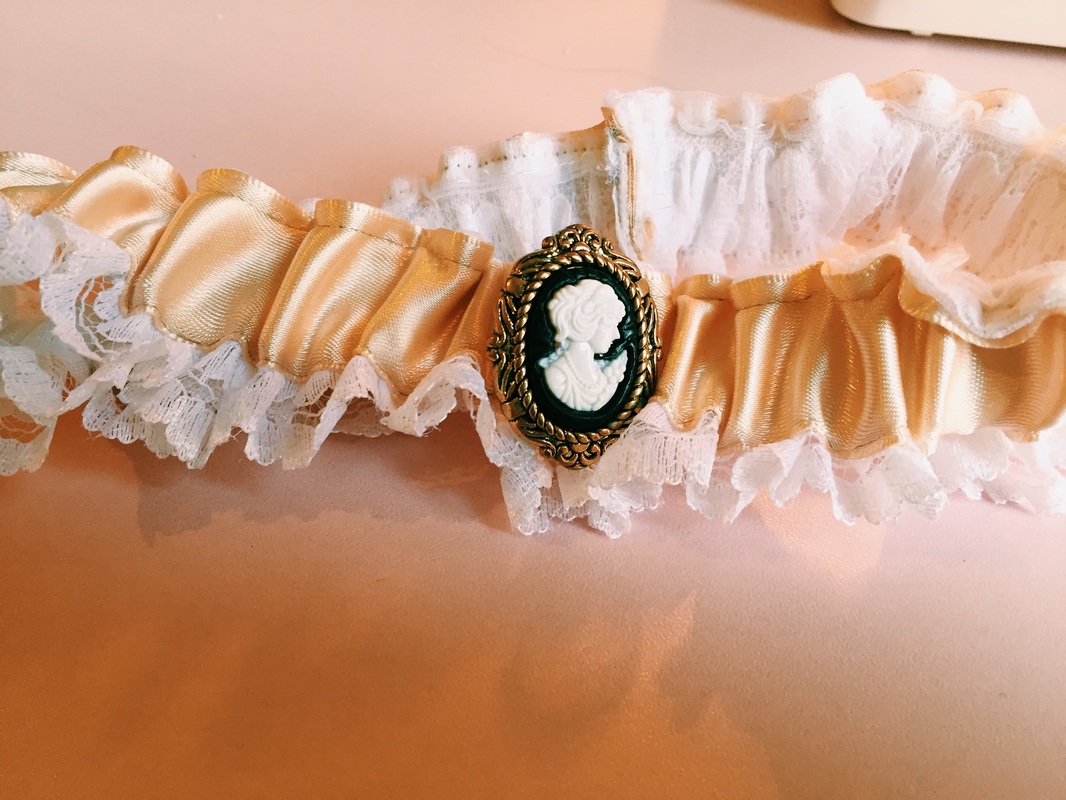 |
And there you have it , your own personalized garter for your big day !
Hopefully i will post more DIY creative projects soon so stay tuned to the blog to find out , if there are projects you wish me to have a stab at i will , just comment below!
Much love till next time,
Hopefully i will post more DIY creative projects soon so stay tuned to the blog to find out , if there are projects you wish me to have a stab at i will , just comment below!
Much love till next time,

 RSS Feed
